How to make Isometric cities
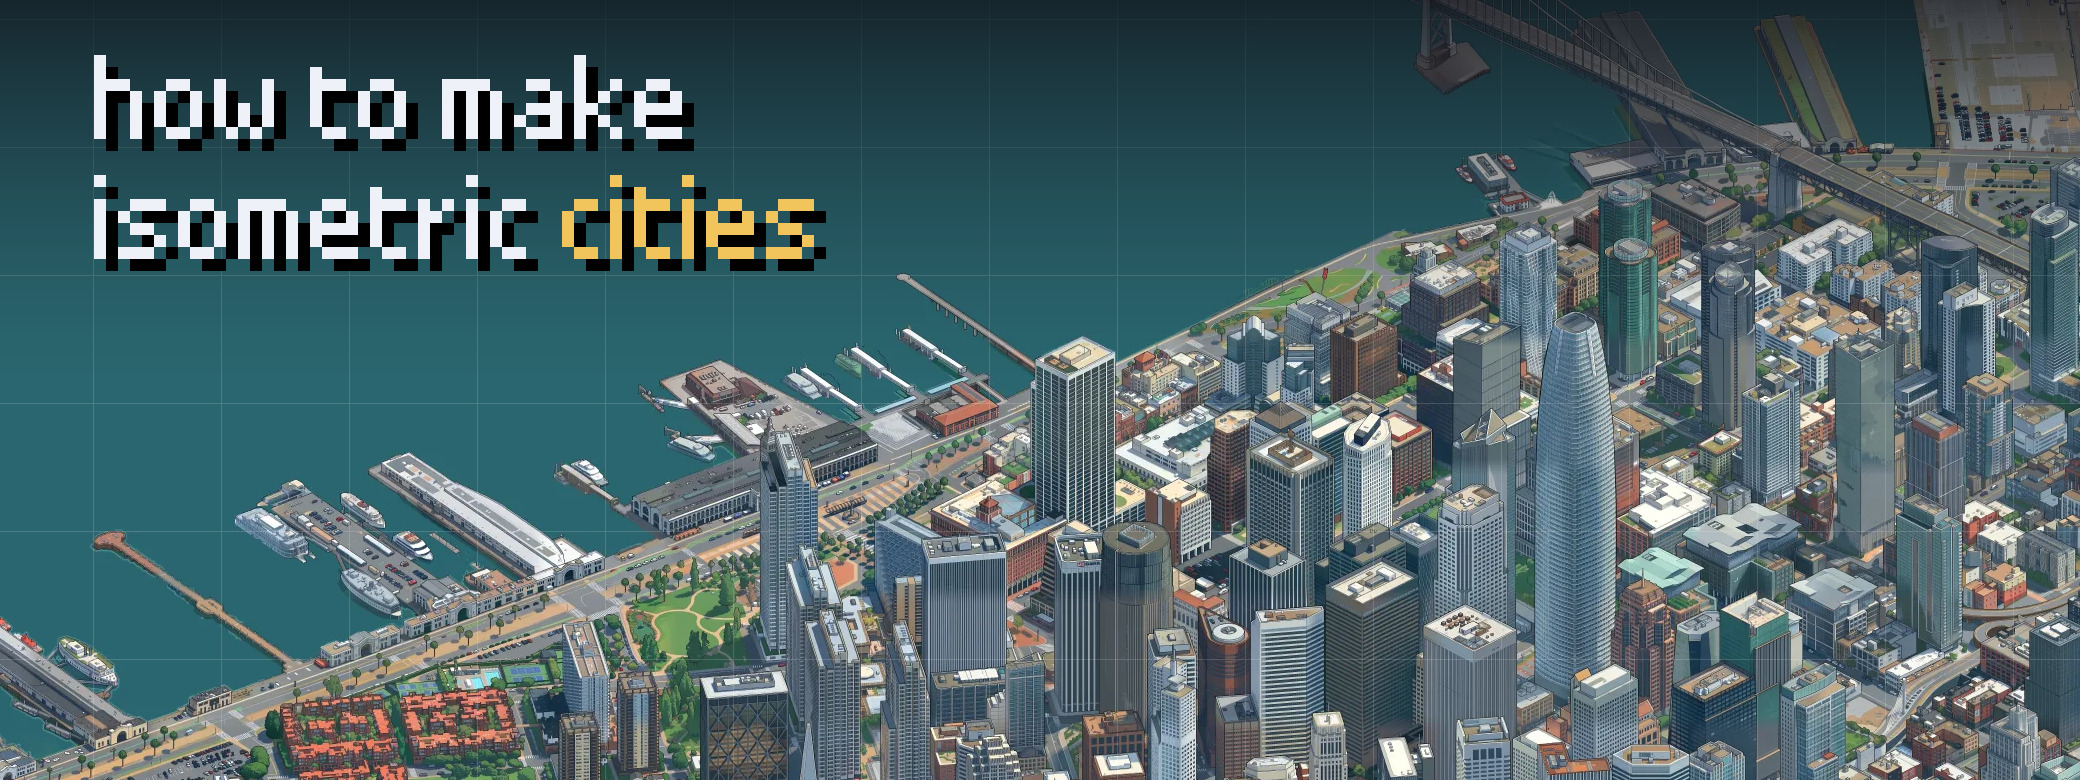
This is a guide for how to create isometric cities like Isometric SF.
What you'll need
First you need the inspiration! Which city are you going to draw? And what viewpoint, style, or geometry do you want it to have?
Next, you need a lot of storage. To cover all 1,300 square miles, I used 3 terabytes of external drives across captures, recaptures, and experiments. Get SSDs: color correction ran about 10x faster on SSD than on HDD.
You need a coding agent. I used Claude Code. You also need a computer to run the agent and capture renders. I used a Mac mini and connected a MacBook Pro over Tailscale.
Then you need GPUs. I rented H100s by the hour. Painting all 1,300 square miles of land took about 119 H100-hours, or about 172 counting every experiment and training run. A MacBook Pro would have taken more than 100 days!
Choosing the angle
You don't have to face north. I wanted to highlight the west coast of the San Francisco Peninsula, so I faced east. For tilt, 30 to 45 degrees below the horizon works. That's enough to make the buildings pop off the land and give more character than a flat projection. I went with 30 degrees.
To pick yours, have your coding agent render the options:
Using Google's Photorealistic 3D Tiles and an orthographic camera, render [a landmark in your city] at tilts of 30°, 45° and 60° below the horizon, facing north, east, south and west. Make each view 1.5 km wide and lay them out in a labeled 4×3 grid.
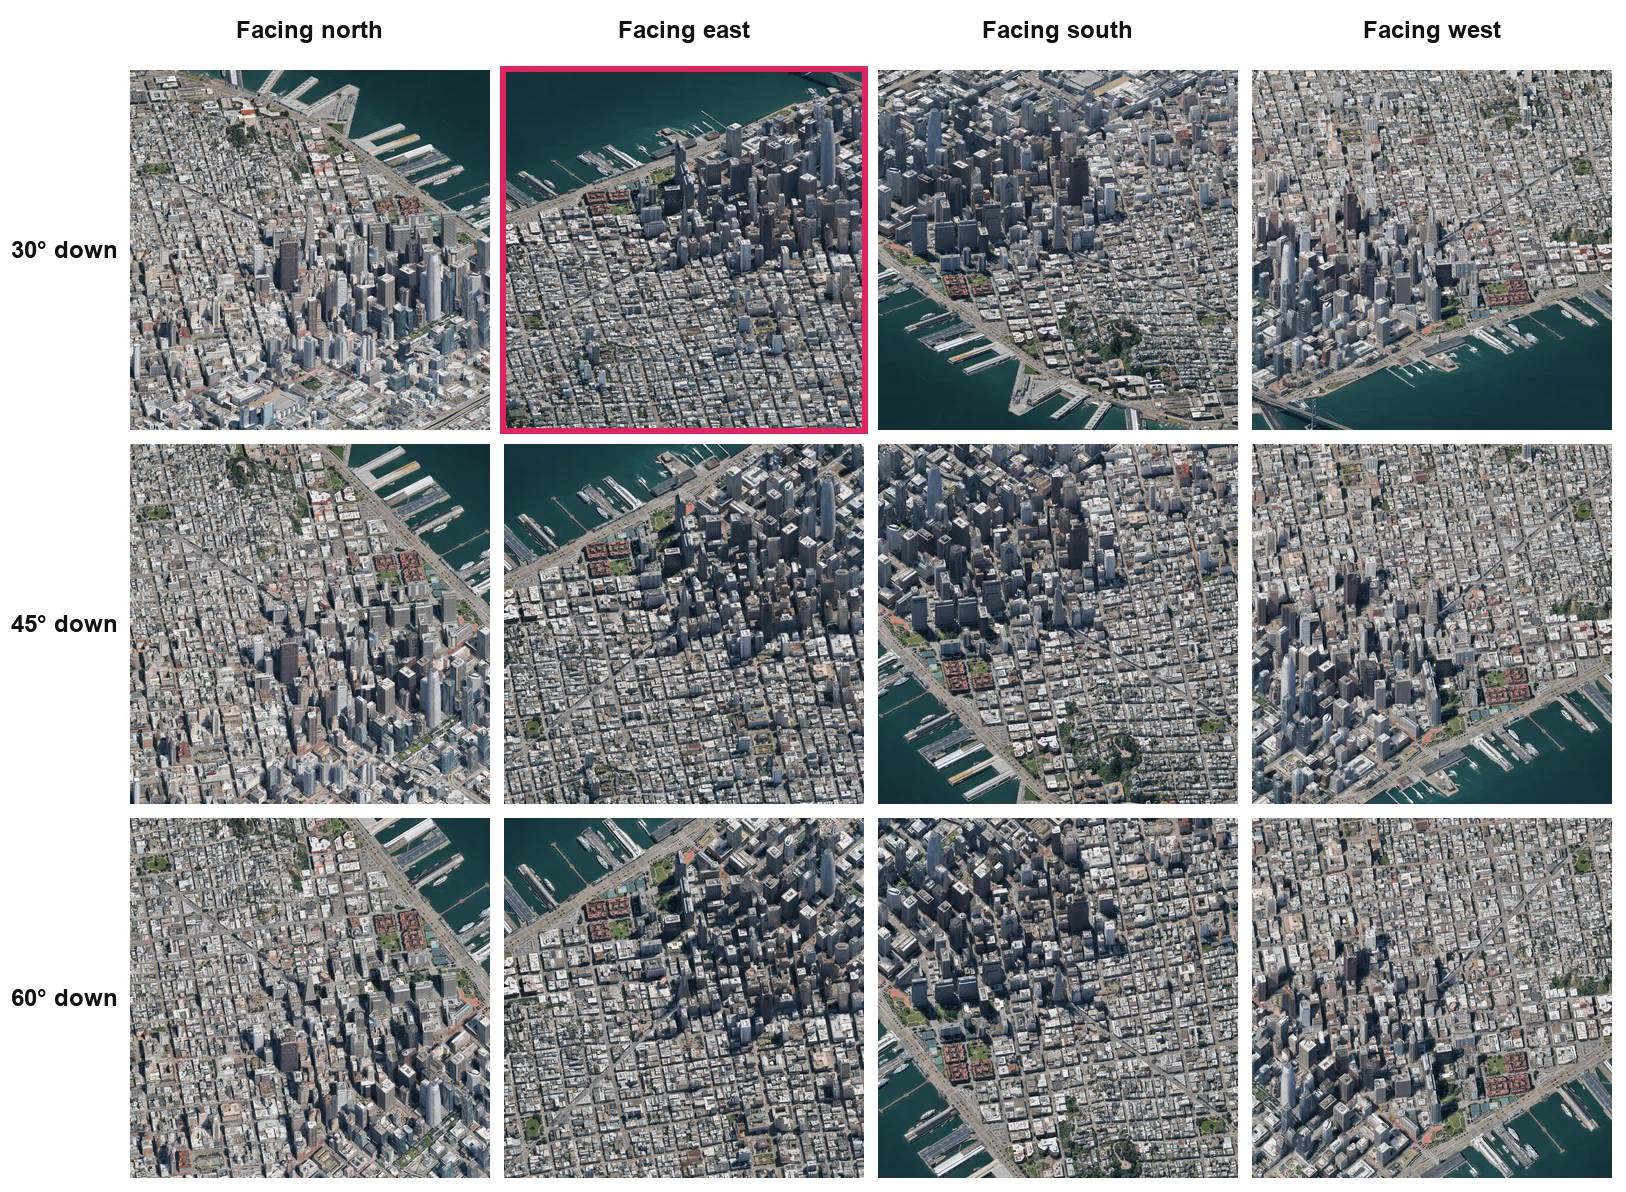
Zoom in on a few landmarks to check they don't get blocked. You may not be able to save them all. Sorry, Ferry Building.
Once you pick, that's your capture angle. Every tile uses it.
Capturing the renders
With your angle chosen, we can start capturing. Let's go through the stack one piece at a time.
First, the data. It comes from Google's Photorealistic 3D Tiles. Each tile is a 3D box, and together the boxes make up the mesh of the landscape.
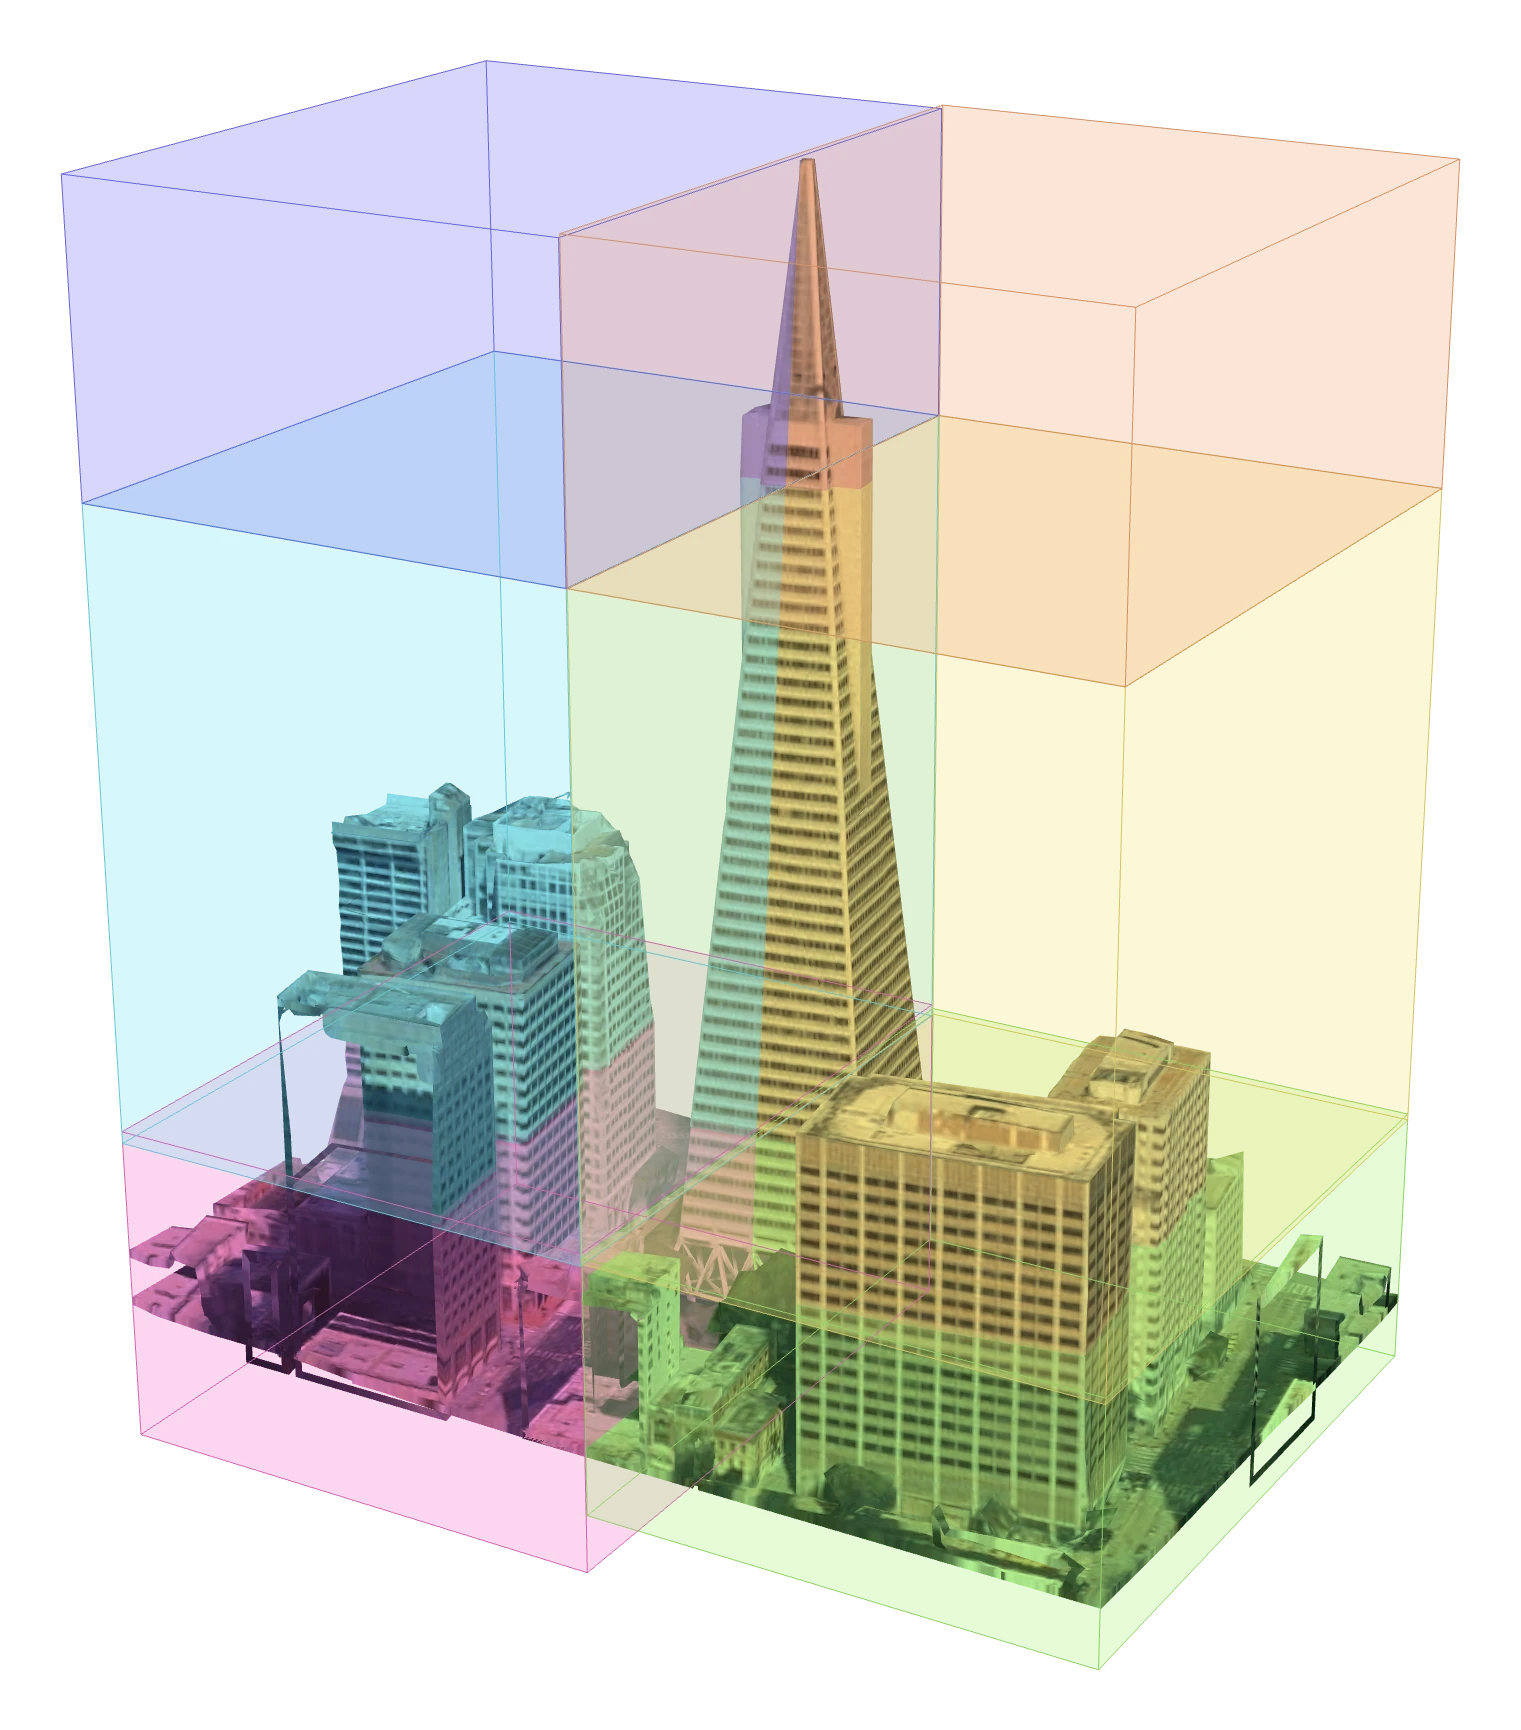
The tiles come in different levels of detail. NASA JPL's open-source 3D tile renderer picks the right one for us. It downloads only the tiles the camera can see, and keeps refining until they are sharp enough for a 1024 px image.
To take the picture, we render those tiles in three.js. Headless Chromium, driven by Playwright, takes the screenshot, and that setup lets us capture in parallel.
If you're starting out, I would capture a part of the city you know. Your coding agent only needs the bounds of the area to plan the captures.
To draw those bounds, I recommend geojson.io.
Then send the following to your coding agent:
Use the tile capturer to render every tile in [your GeoJSON] at [your capture angle].
Not every capture will work. I cover how to catch and fix the bad ones later.
Creating the training data
This is where the fun begins. With the renders captured, we can make the training data. Start with a frontier image-to-image model. I used Nano Banana 2. We don't train this one. We give it seed renders and a style, and it redraws each one. Each seed render and its redraw make a pair. Those pairs are the training data, and I'll call them training seeds.
For the seed renders, pick a few captures of every kind of landscape in your map, so the training data covers all of them. Isometric SF had city, suburbs, grassy hills, ocean cliffs, and many, many parks.
For the style, I used the same SimCity 3000 look as Andy Coenen's Isometric NYC, but feel free to experiment here.
I sent the seed renders to Nano Banana 2 with this core prompt:
Redraw this render as SimCity 3000 pixel art, matching the reference image.
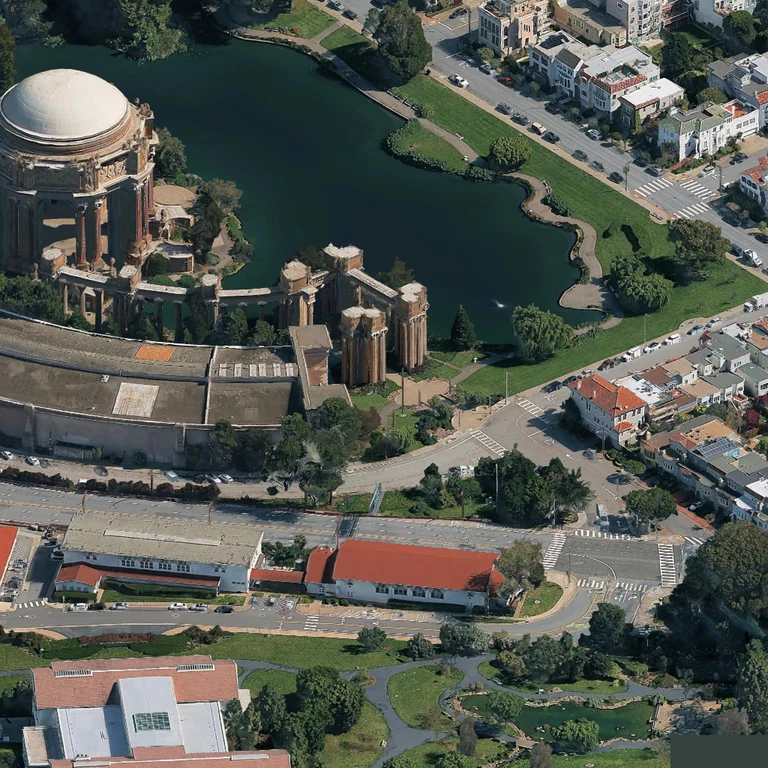
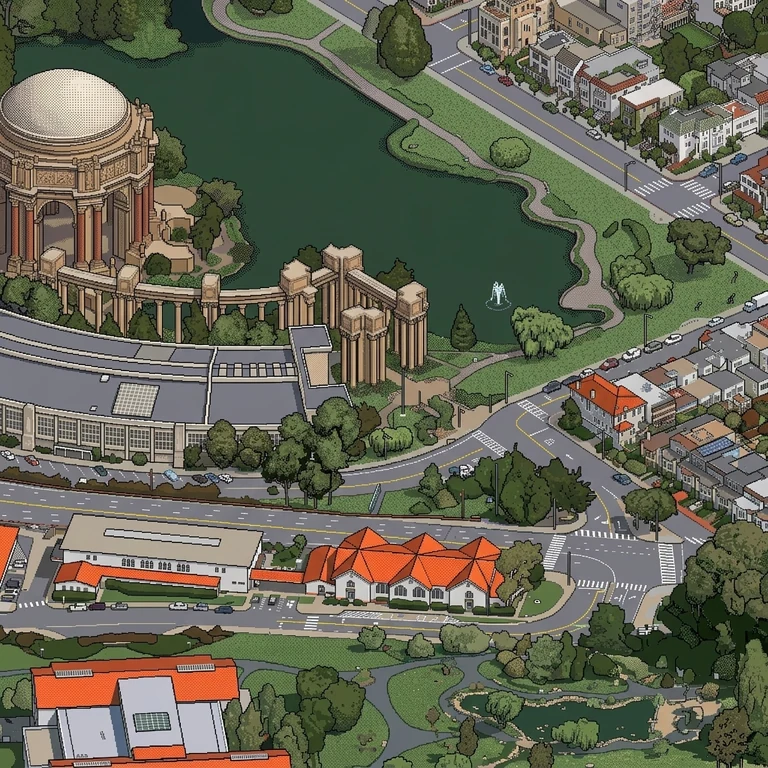
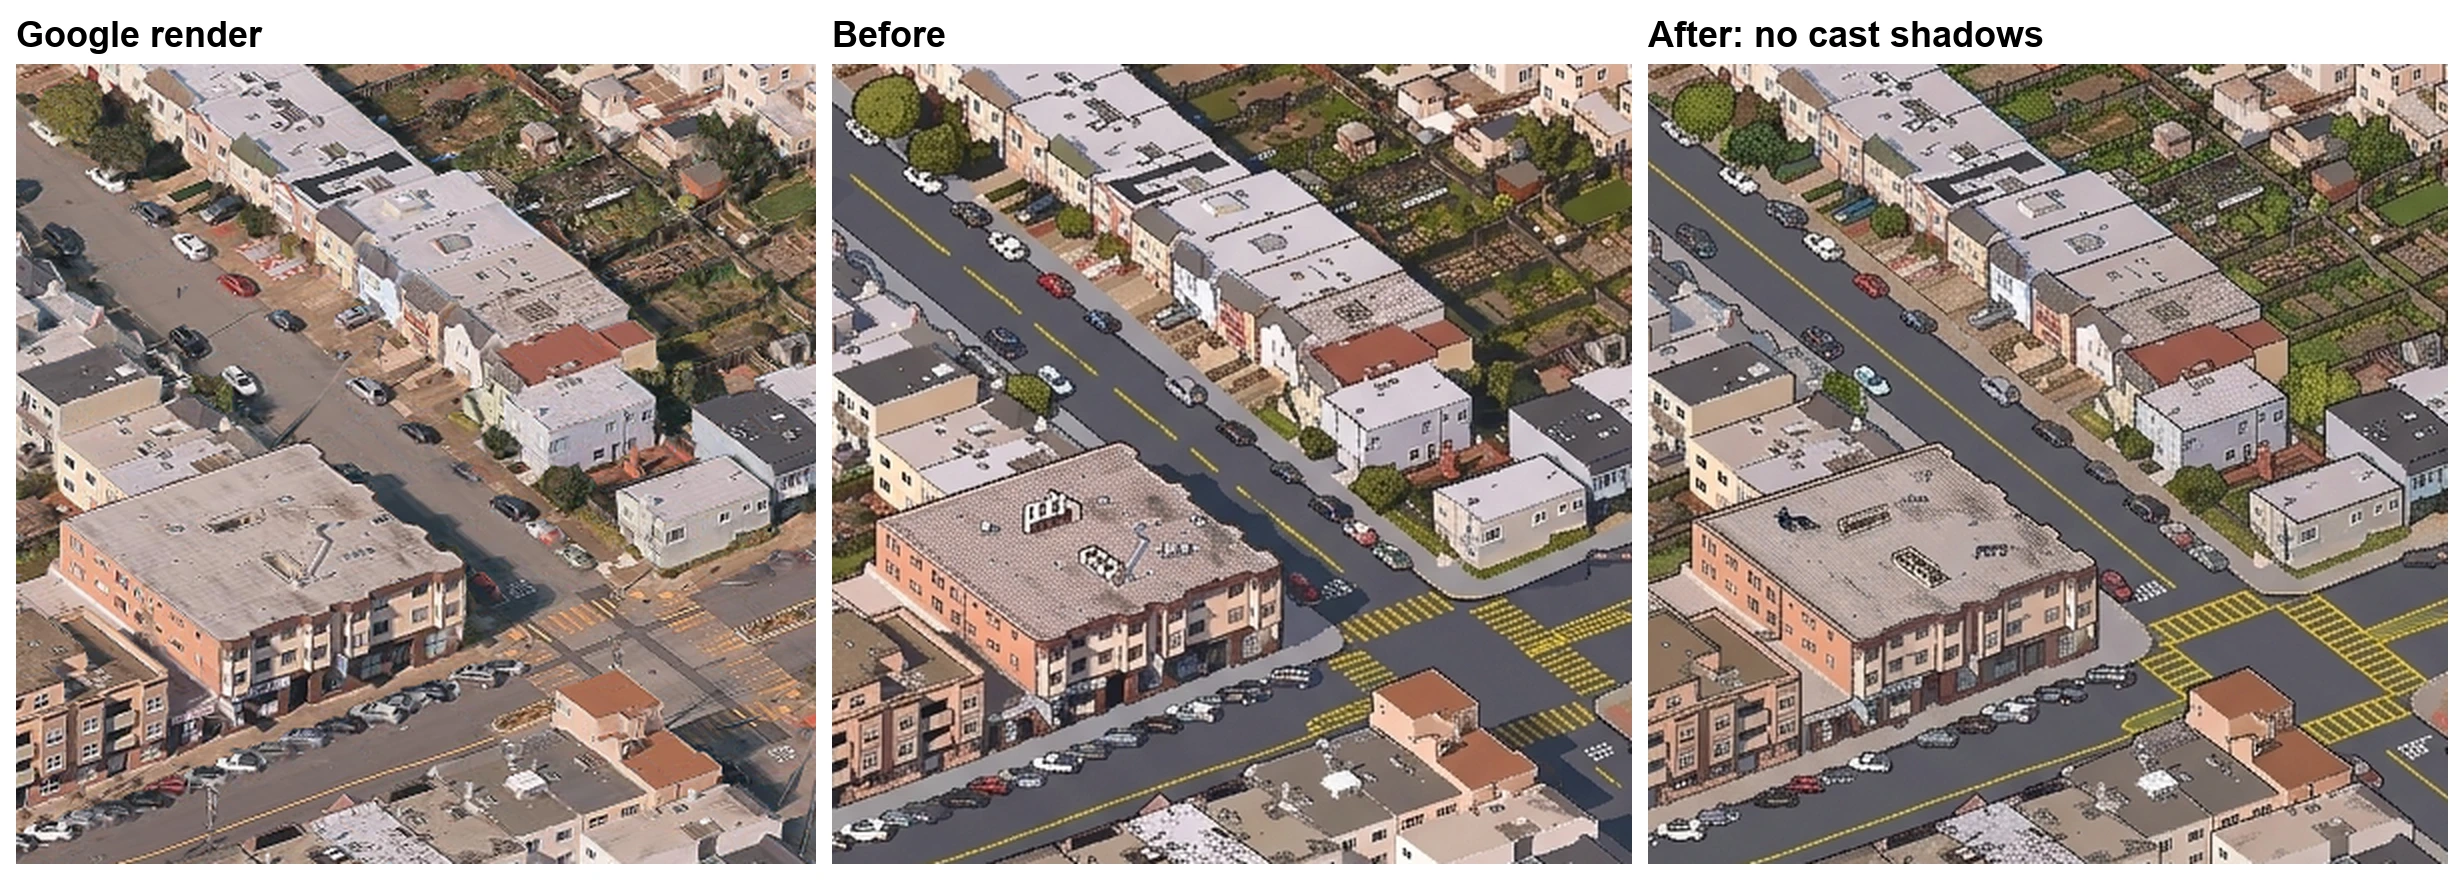
Check every training seed by eye. I went through mine looking for mistakes and for anything I didn't want in the map. I found a blank rooftop that came back with writing on it, white road markings turned yellow, and a ship that grew bigger than it was in the render. Many of the outputs also had shadows, which I didn't want either, so I added this to the prompt:
Exclude all cast shadows
Training the prototyping model
With the training seeds ready, we can teach an open model to paint like them. I'm calling it the prototyping model. It learns from the frontier model's output, and later an even cheaper production model will learn from it. The safe choice is the one that's already proven: Qwen Image Edit.
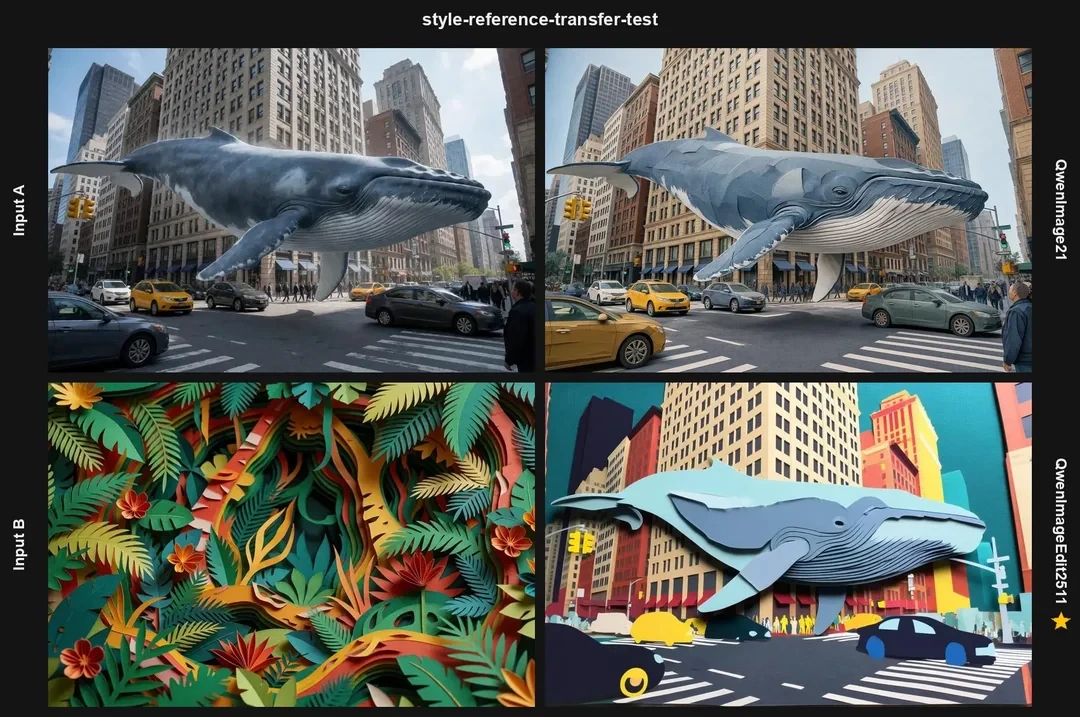
I considered switching from Qwen Image Edit 2511 (released Dec 2025) to the newer Qwen Image 2.1 (released Sep 2026). 2.1 scored better on overall benchmarks, but in the comparisons I found, 2511 did style transfer better and more consistently. I stuck with 2511.
I trained it with infill. One region of each training image is swapped for a corrupted copy of the Google render: desaturated, noised, and darkened. The model learns to paint that region back in. I trained for 2,500 steps, and we have our prototyping model!
Working with the prototyping model
The prototyping model lets us catch patterns that only show up at scale.
The loop looks like this:
- Train the prototyping model on the training seeds
- Generate a large area with it
- Find what needs adjusting
- Regenerate the training seeds with those adjustments
Then repeat.
The prototyping model has to be cheap enough to paint a large area, and smart enough to relearn from a few adjusted training seeds.
The production model we'll train later is even cheaper to run, but it needs a lot of examples to learn.
Catching problems at scale
Some problems are invisible in a single tile. They show up when you paint a larger region and zoom out.
Here's an example. My training seeds came out a little too green, so when I painted downtown San Francisco, the sidewalks came out looking like something out of Dr. Seuss!
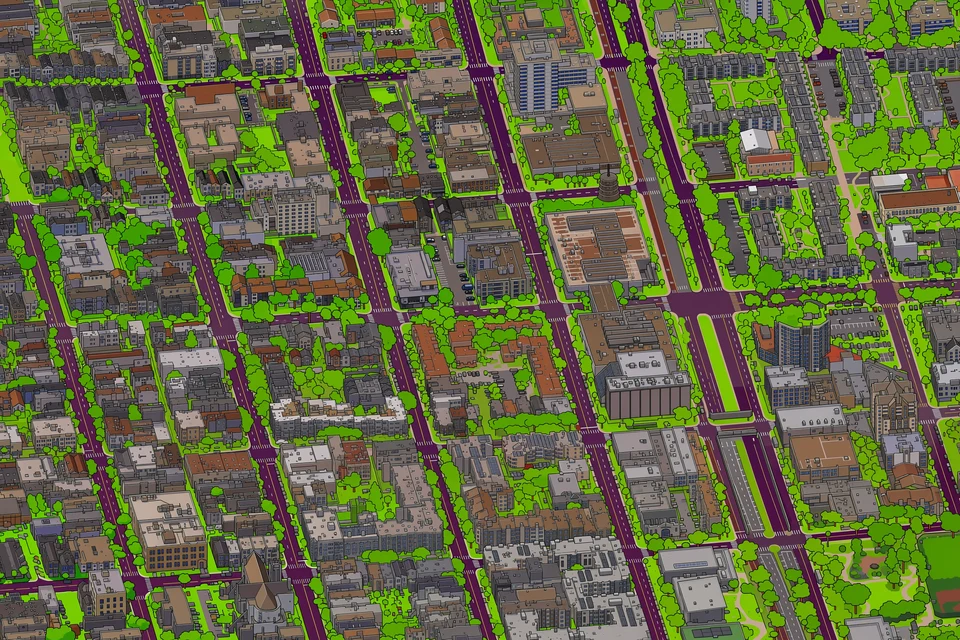
That sent me back to step 4. I adjusted the prompt, added a check for green ground, remade the seeds, and retrained.
The prototyping model is also where you experiment with how you generate. I knew seams were a big problem in other isometric maps. A seam is where side-by-side tiles don't agree, which leaves a visible line in the map. At scale, they look like a checkerboard.
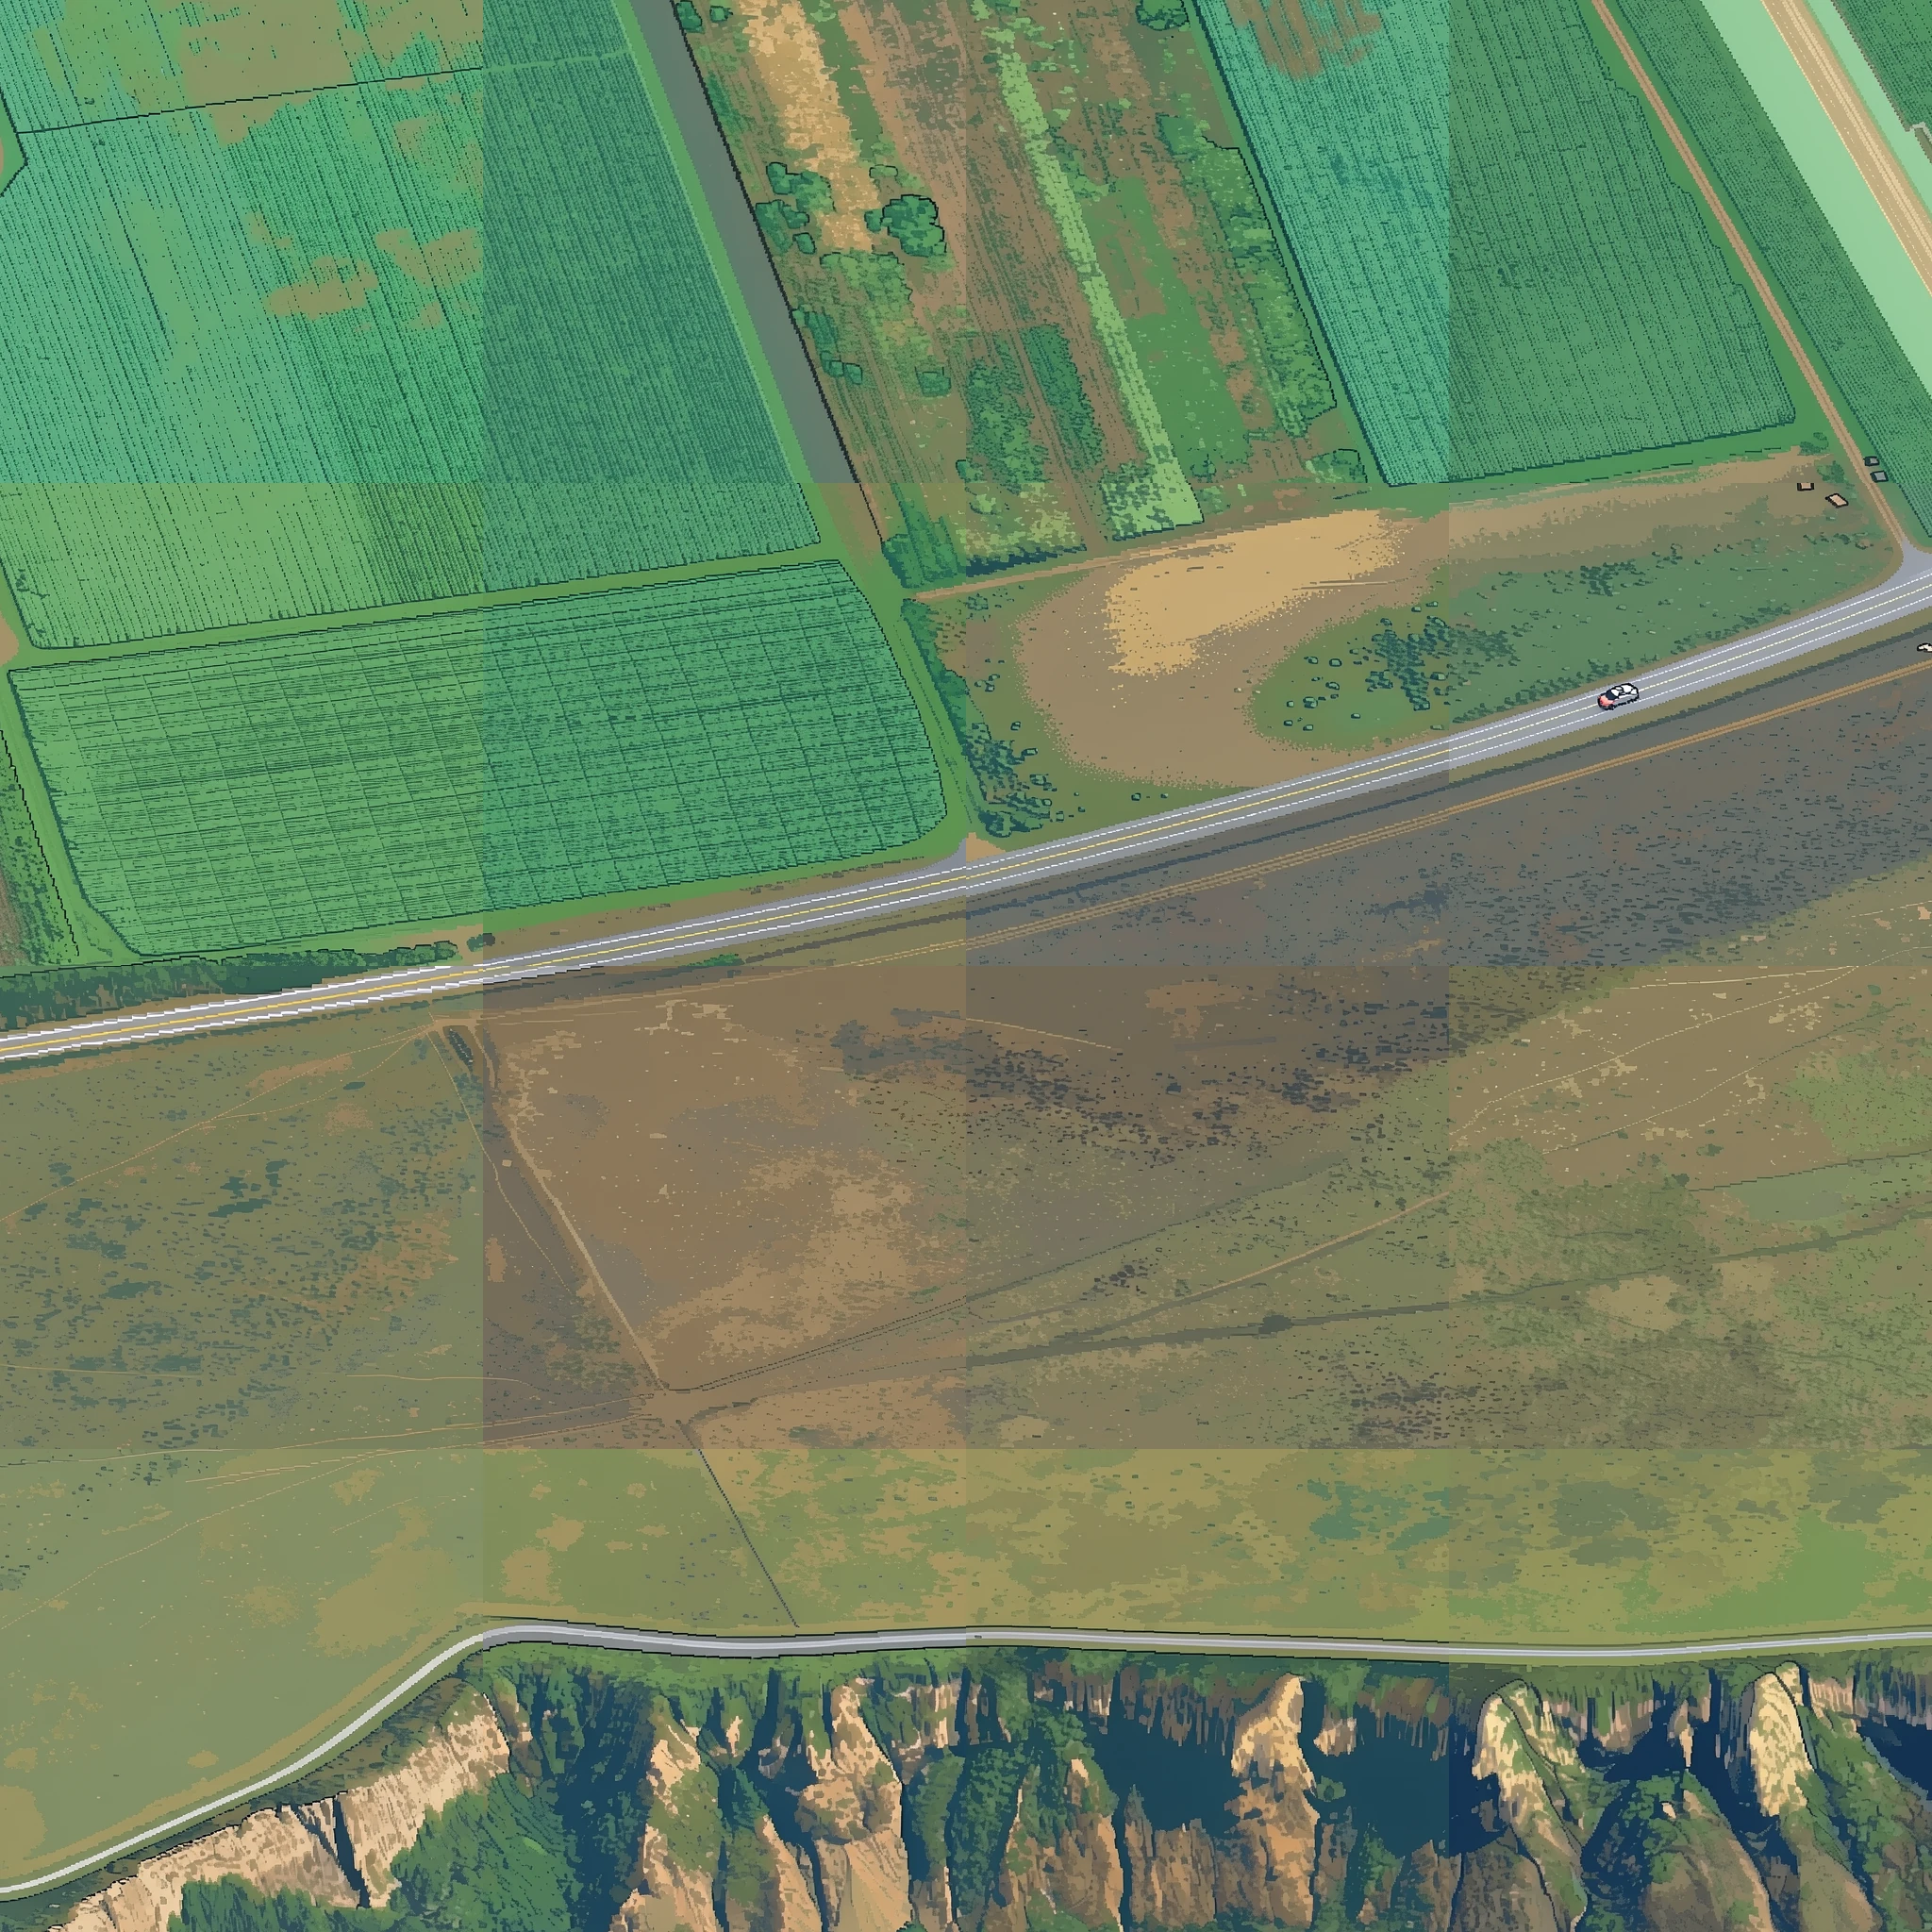
I wanted a fix that painted each tile independently, added little overhead, and would get better as models improve.
I landed on what I'm calling hemming. It's based on feathering, a classic way to merge images that averages a wide band, around 512 px, where two 1024 px images overlap. Hemming, like on clothing, uses a short stitch instead: a fade of about 64 px where neighboring tiles meet.
tiny.london showed a big improvement with a shared canvas of latents. The tiles are generated together, which avoids seams. This is MultiDiffusion with RePaint-style pinning. I chose not to use it for two reasons:
- Hemming keeps every tile independent. Each tile is its own request, with no ordering. A shared canvas can be split into regions, but they run in phases, and later regions wait on their finished neighbors.
- Fixing a tile is simpler. On a shared canvas, a repainted tile only lines up if it is generated alongside its finished neighbors. With hemming, I repaint the one tile and hem it back in.
There's a lot of experimentation happening with seams right now, and I'm excited to see what other methods people come up with.
Training the production model
With the prototyping model and method working, I was ready for a production model: one that could paint the entire Bay Area at a fraction of the cost. This was new territory for me, so I leaned on evals and a lot more training data.
I landed on FLUX.2 Klein 4B with my own style LoRA. Klein comes distilled to run in 4 steps, which speeds up generation.
I used 1,460 training seeds painted by the prototyping model. Google's renders come in patches with different coloring, so I turned each seed into 3 training examples: the original render plus 2 color-adjusted copies. That made 4,380 training examples.
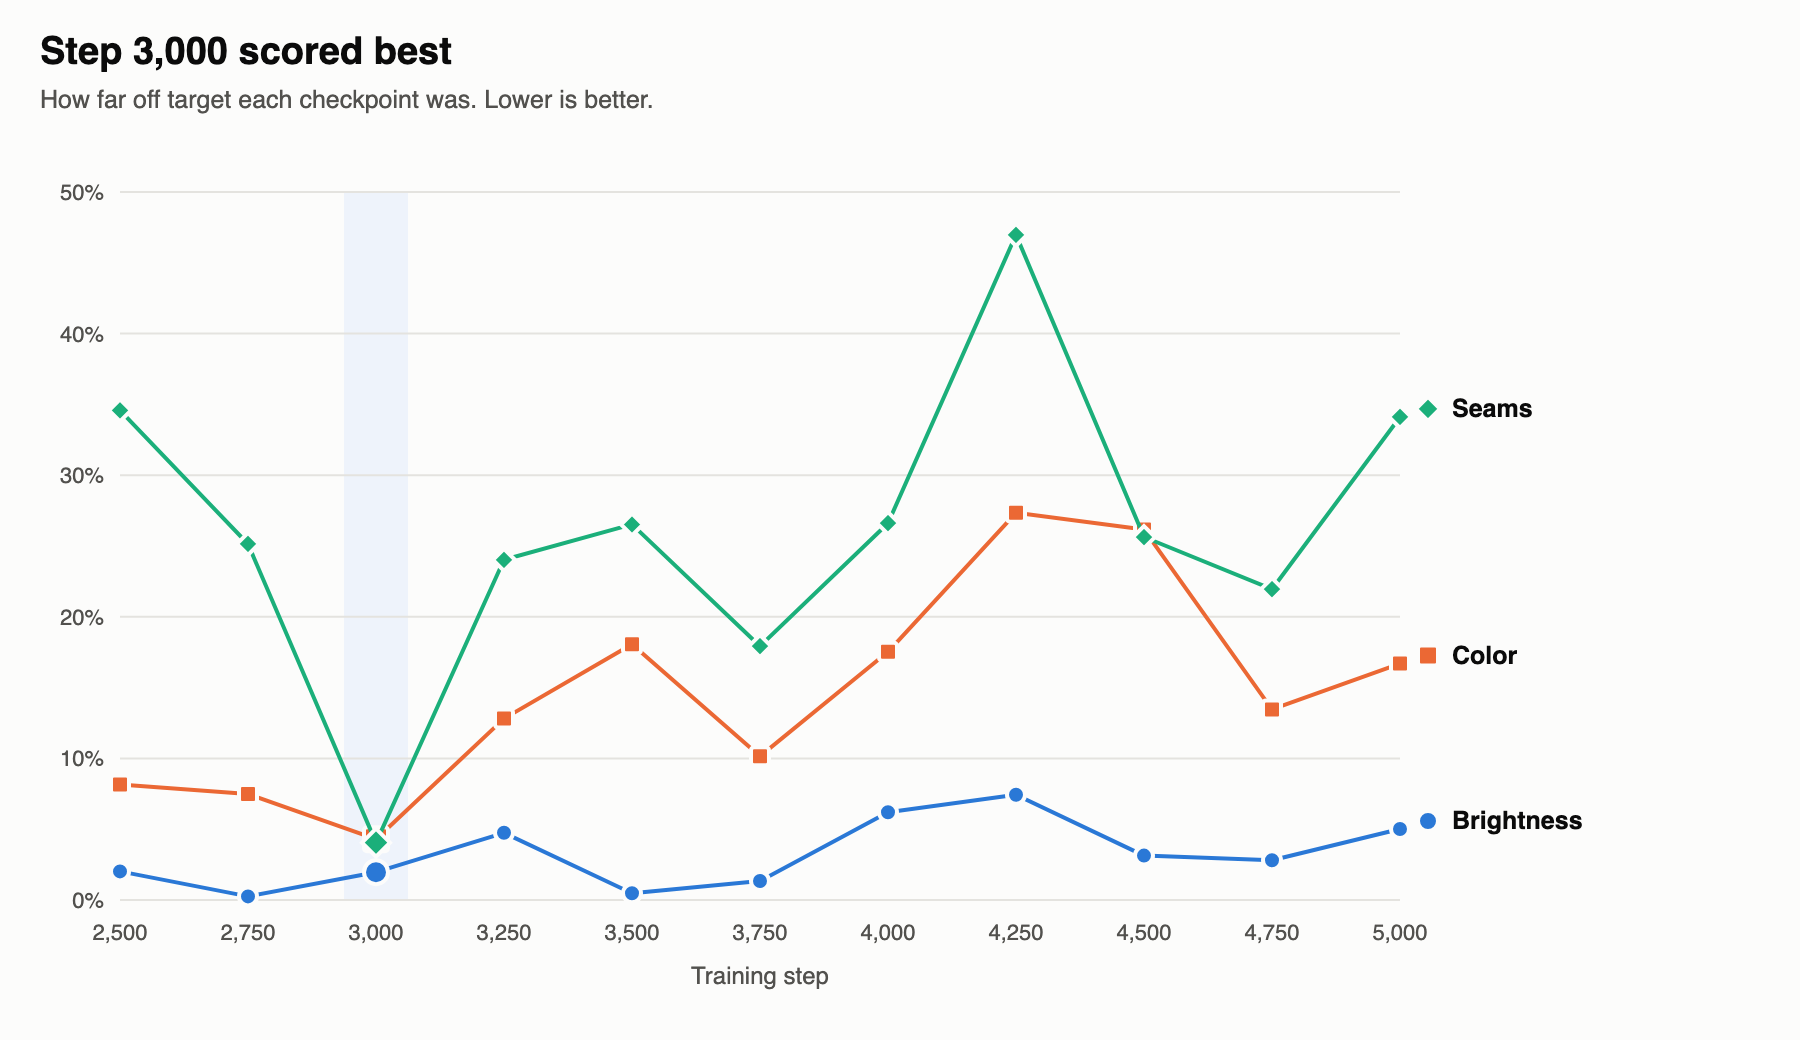
To know when to stop training, I built 3 evals. Two measured how closely Klein's brightness and color matched the Qwen paintings. The third measured seams: how much neighboring tiles disagree. I trained for 5,000 steps and picked the weights from a sweet spot in the scores partway through.
On an H100, Qwen with a 4-step Lightning LoRA took about 3.9 seconds per tile. Klein at 4 steps took about 1 second. Almost a 4x speedup!
Correcting the renders
We now have a production model ready to paint the entire Bay!
Hold on, we're not done yet. A model is only as good as the data it works on. Google's photos of the Bay weren't all taken on the same day. Stitch the raw renders into one image, and the regions look very different from each other, which creates large seams:
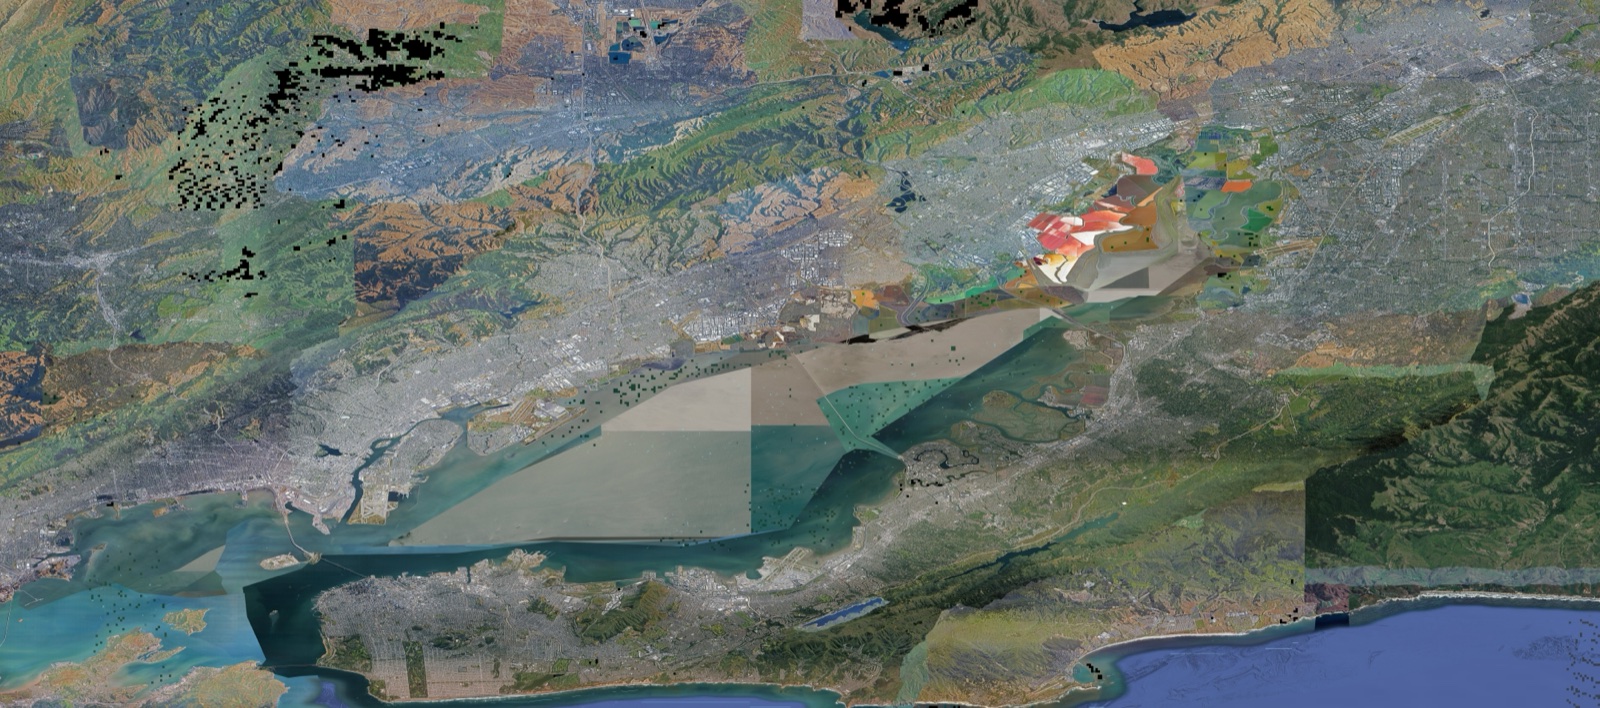
Correcting the renders took a ton of work. Here are a few of the methods.
Fixing land color
Aerial photos don't always agree. One was taken on a foggy day, another on a sunny one. One in the dry season, another in the wet. Each becomes a patch with its own coloring, and from far out the patches are obvious. To fix this, I ran a color correction on the renders wherever the patches disagreed.
In simple terms:
- Find where the color suddenly jumps.
- Those jumps draw an outline.
- Inside the outline is a patch.
- Shift the patch's colors smoothly until it matches what's around it.
On the renders, it looks like this, one patch at a time:
I applied this correction mostly to forest and hills. I left out cities, where color jumps are more common.
Finding and fixing bad renders
Capturing this much data is noisy, so you need a consistent way to find bad captures. I made detectors for:
- Coloring (sky holes are always the same color)
- File size (blurry images compress to smaller files)
- Network logs at capture time (watch for HTTP 429s)
The flagged captures were retaken or fixed by:
- Waiting longer for the render to load before capturing
- Using a different tile resolution when the requested one is missing
- Rarely, when a hole survived the retakes, filling it in from the pixels around it
Before and after:
Water
Don't try to generate water. Use OpenStreetMap to overlay the sea and the Bay in one consistent color. That let me skip painting about 16% of the map. A fade then blends the land into the water.
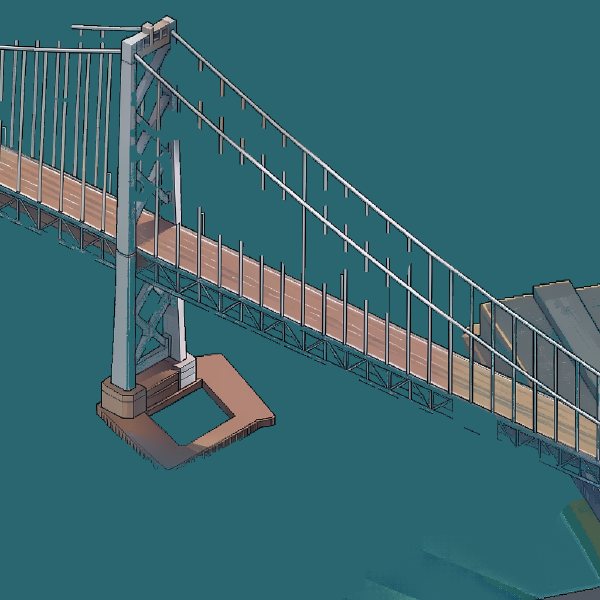
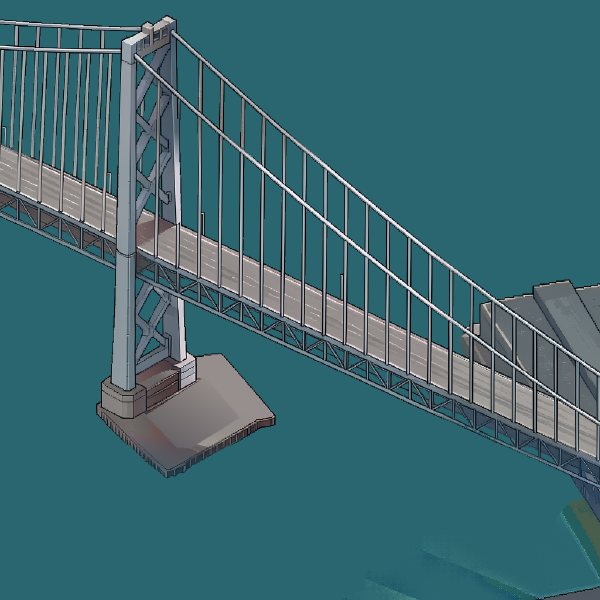
The overlay can erase structures that sit over the water, like bridge cables. I used a pixel detector to tell structure from water and bring them back.
How it compares
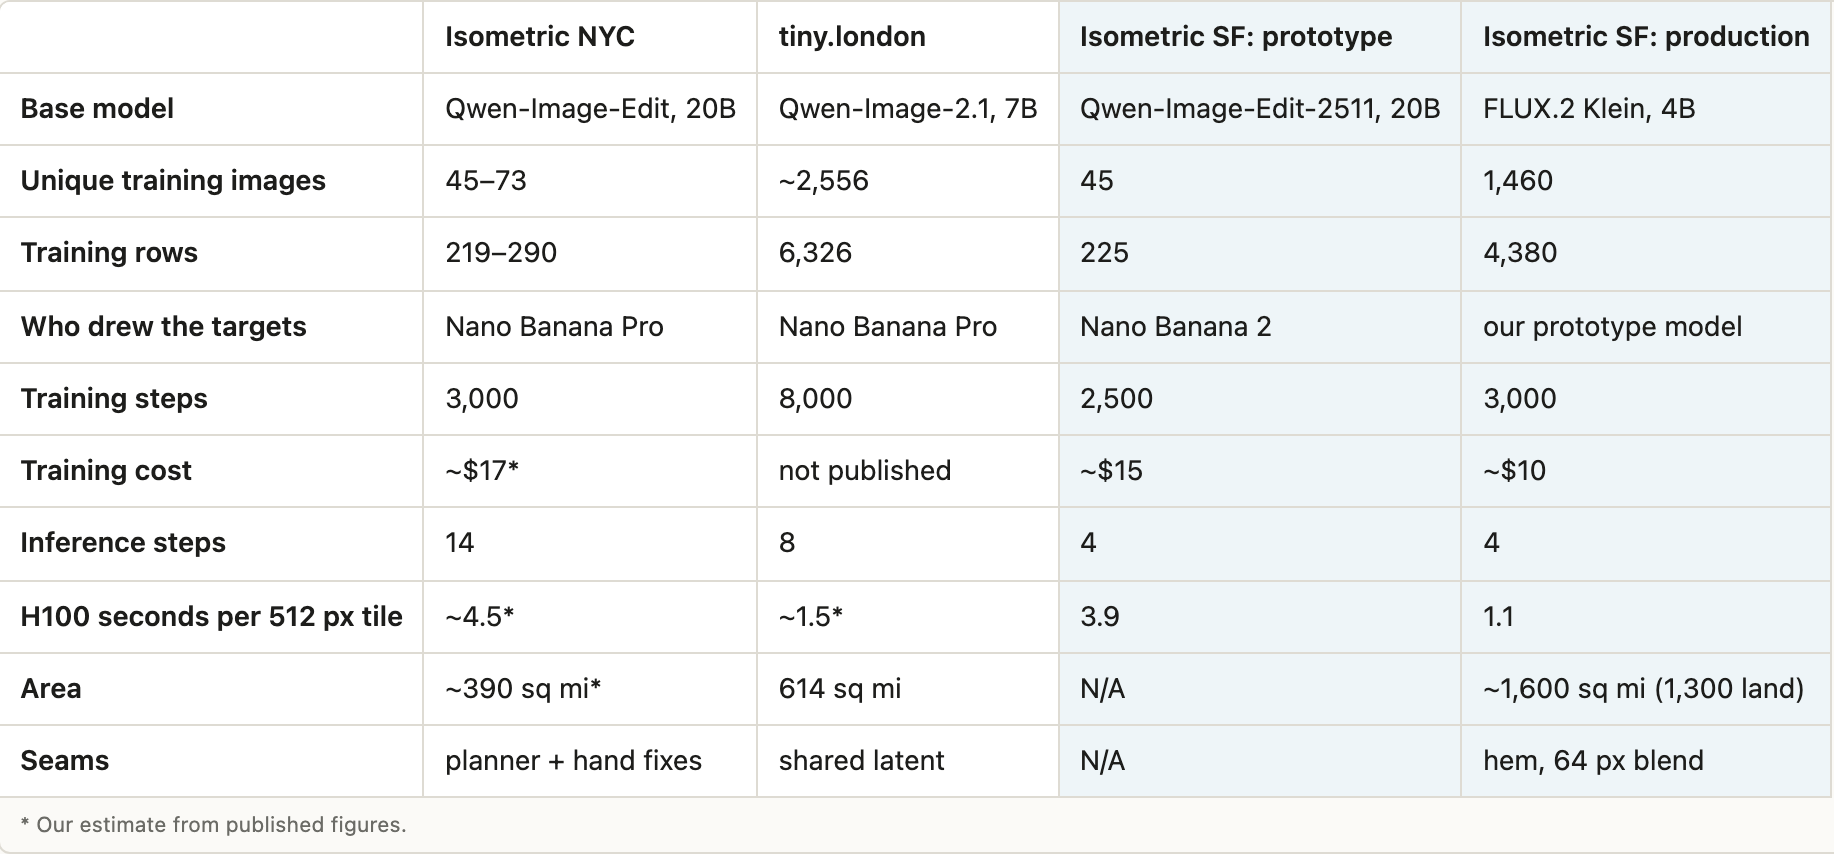
Here's how Isometric SF compares with Isometric NYC and tiny.london.
This was a blast to make! And it's been even more fun watching other people's isometric cities come alive, with cars driving the streets, water that ripples, and trees swaying in the wind.
What surprised me most is how far a small open-source model can go. A frontier model taught a 20B model, which taught a 4B model that painted 1,300 square miles. I can't wait to see what else people build this way.
So, which city are you going to draw?
I'm still exploring my next opportunity. If you have a take on this, or something we should collaborate on, DM me. Socials are open!
justin.chavez22@gmail.com · Twitter · LinkedIn
Disclaimer: I wrote this post myself, with an LLM as my editor for trimming and grammar.
Want to hear when I release the next update or exploration?